Modern cars have smart safety tech. But it only works if everything is lined up right. So, what is ADAS recalibration? It simply means realigning your car’s cameras and sensors. These parts power your advanced driver assistance systems.
Why is this important? Your safety depends on it. If a sensor is off just a little, your car might not brake in time. Usually, you need this service after a windshield replacement calibration. A minor bump can also throw things out of line.
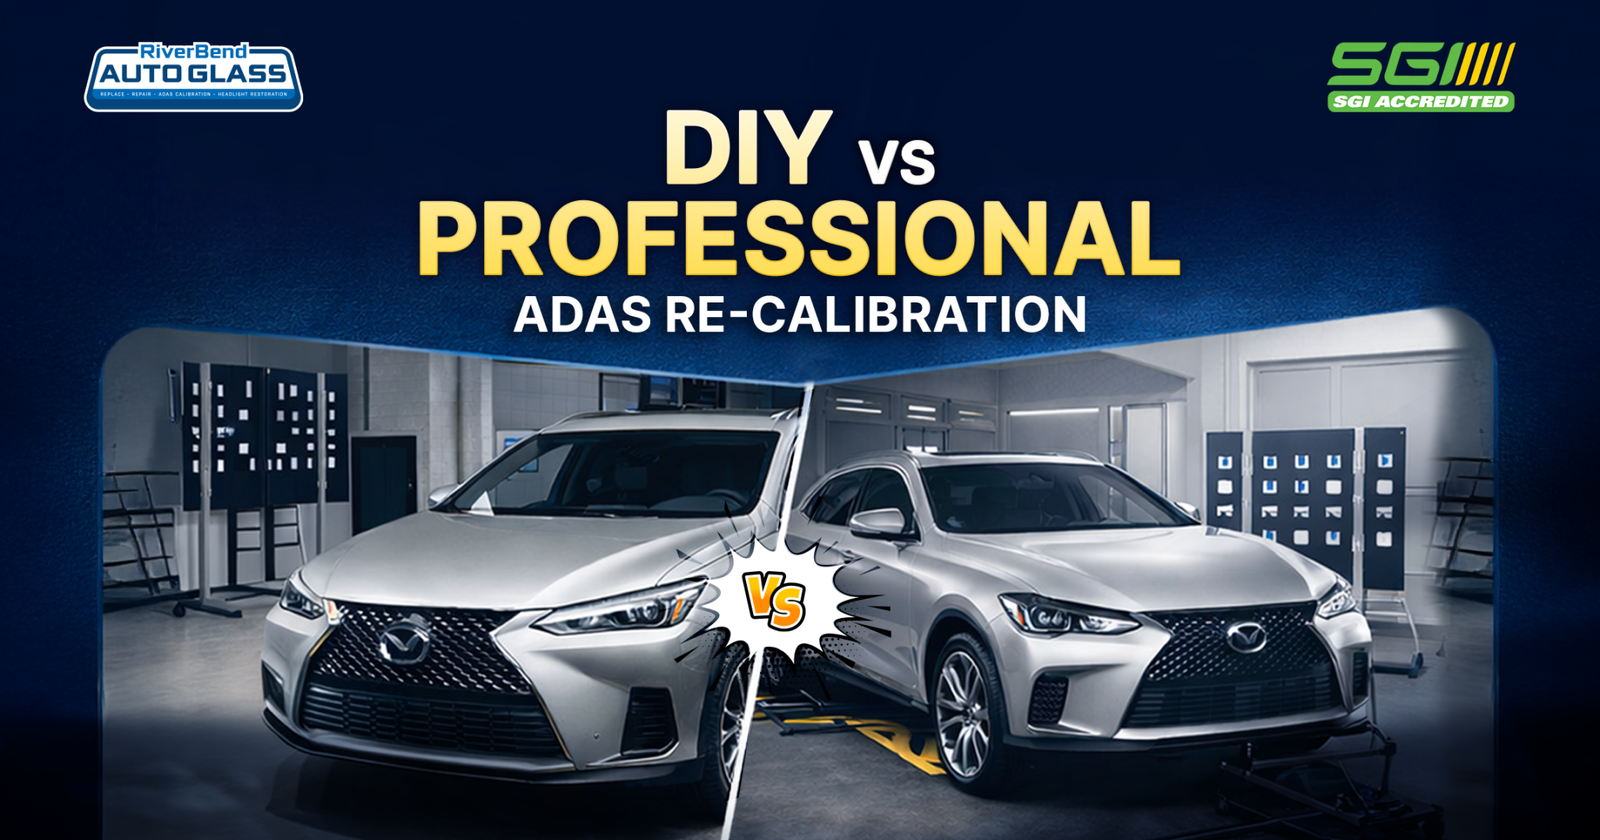
This leads to a big choice for drivers in Saskatoon. Should you try a DIY ADAS calibration kit? Or is a professional ADAS service the smarter move?
We will compare DIY vs Professional ADAS Re-Calibration: What’s Safer for Your Vehicle. Our goal is to help you keep your vehicle safety systems in top shape. After all, proper calibration is key to accident prevention. If you are searching for ADAS Re-Calibration in Saskatoon, you need to know which option truly protects you and your family.
What is ADAS Re-Calibration?
What is ADAS recalibration? In simple words, it means adjusting the safety systems in your car so they read the road correctly again. The ADAS calibration definition refers to resetting and testing your vehicle’s safety tech after repair or glass replacement. To explain How ADAS calibration works, technicians check Vehicle sensor alignment so all ADAS sensors and Vehicle cameras point in the right direction. This includes Radar sensor calibration, the Lidar sensor system, and Ultrasonic sensors used for parking and safety alerts. They also check the Camera mounting system, perform Windshield camera alignment, and confirm the Sensor cleaning system is clear of dust or dirt. In this section, we will share about how these parts work together.
These systems control features like lane departure warning, adaptive cruise control, and automatic emergency braking. When calibration is correct, your vehicle can detect lanes, cars, and obstacles with better accuracy.
DIY Re-Calibration: Pros and Cons
Now let’s look at the other side of the fence. DIY ADAS calibration sounds tempting, but you need the full picture.
The Pros: Why People Try It
Money drives this choice. Cost-saving is the biggest reason people attempt home ADAS calibration. You avoid shop labor rates entirely.
There is also convenience if you have the tools. Doing at-home calibration means no appointments. You work on your own schedule in your own driveway. For some, self calibration feels empowering.
The Cons: The Real Risks
But here is where it gets serious. Risk of improper calibration is extremely high. These systems need laser accurate measurements. Your garage floor might not be perfectly level. The lighting might be wrong. A tiny mistake means sensor misalignment that you cannot see.
This leads to potential warranty void. Most manufacturers require proof of OEM-approved process. If you try DIY methods and something fails, the dealer can deny coverage.
The biggest worry is safety hazards. Imagine your automatic braking failing because of a camera calibration error. Or your lane keep assist steering you wrong due to radar misalignment. These issues cause system failure when you need it most.
You also face lack of proper equipment. Professional calibration equipment cost runs thousands. Cheap DIY kits often lack OEM software compatibility and proper targeting board accuracy. Without diagnostic scanner access, you cannot verify the work. Incorrect measurements become hidden dangers that only show up during a crash.
Professional Re-Calibration: Pros and Cons
When you choose professional ADAS calibration, you pay for peace of mind. Let’s break down the good and the bad.
The Pros: Why It’s Worth It
First, you get real experts. A certified calibration technician or an ASE certified technician handles the work. These trained calibrator professionals understand manufacturer guidelines inside out.
They also guarantee the results. Using an OEM scan tool and professional scan tools, they perform precise calibration that meets OEM specifications. The correct targeting system ensures an error-free setup every time.
This matters for your coverage too. Following an OEM-approved process means maintaining factory warranty is simple. The dealership service records prove you did things right, avoiding warranty void issues down the road.
Safety improves as well. Shops follow automotive safety standards and provide liability coverage if something goes wrong. Many even offer a calibration certificate as proof of quality assurance.
The Cons: The Downsides
But there are drawbacks. The higher cost hits your wallet hard. Between expensive service fees, labor rates, and dealership markup, the calibration fees add up fast.
You also face the need to schedule. This means working around service center hours and accepting vehicle downtime. Sometimes you need a loaner car while waiting. If your car won’t drive, towing if vehicle inoperable becomes another expense. It’s a time-consuming process that requires driving to shop and planning ahead.
When DIY Might Work
So is there ever a good time to try this yourself? Yes, but only in specific situations. Let’s look at when to DIY ADAS calibration safely.
The Exceptions
Some cars handle part of the work themselves. Built-in auto-calibration means the system relearns after you drive. This dynamic recalibration happens as you go. Self-learning sensors adjust using road lines and traffic. After a battery disconnect, a steering angle sensor reset (SAS reset) might be all you need. The car performs a system self-diagnosis and fixes itself.
Software recalibration is another option. Sometimes you just need a basic scan tool reset to clear a glitch. Clearing trouble codes with an OBD2 scanner might turn off a warning light. This works for simple recalibration tasks like resetting a camera after an aftermarket stereo installation.
What You Need
If you try home calibration guide steps, you need the right stuff. A basic ADAS scan tool or manufacturer-specific software helps. You also need physical tools: measuring tape, laser level, and level ground surface. Proper lighting matters more than you think. Some jobs need calibration targets and a target mounting stand.
The Knowledge Required
Tools mean nothing without skills. You need understanding OEM procedures and comfort reading service manuals. Following technical instructions exactly matters. Good vehicle electronics knowledge and mechanical aptitude help. You need attention to detail and software navigation skills. Metric system proficiency is a must for measurements. Most importantly, bring patience and precision.
The Conditions
Even then, you need perfect setup. Level ground requirement is non-negotiable. You need ample workspace dimensions around the car. Check ambient light conditions and ensure no obstructions in work area. Correct target placement and accurate vehicle measurements determine success or failure.
When It’s Safer
This works best for older vehicle models with basic ADAS features only. After windshield replacement on simple systems, a DIY approach might succeed. Always perform test drive verification afterward. Do system check after calibration and warning light confirmation. Test every feature yourself.
Cost Comparison: DIY vs Professional ADAS Re-Calibration
Money talks, right? Let’s break down what you actually pay with each choice. We will share about the numbers so you can decide.
Professional Service Pricing
The ADAS calibration cost varies by system. Industry data shows typical ADAS price ranges from $300 to $600 per calibration . Radar calibration cost runs $300-$400. Blind spot monitoring calibration also falls in that range. Backup camera calibration costs $250-$300. Lane departure calibration hits $300-$400. For full 360-degree camera calibration, expect $350-$450 .
Windshield replacement calibration averages around $500 . Many vehicles need multiple calibrations. Your total repair cost can reach $500-$1,500 per vehicle . Dealership pricing vs independent shop differs too. Dealers charge more, but independents often offer competitive rates.
DIY Tool Investment
Here is where it gets real. Basic ADAS scan tool prices start around $1,200-$4,000 . A DIY calibration kit cost like the Autel IA700 price runs $26,312 . Mid-range tools jump higher. Professional ADAS equipment cost for something like Autel IA900 price ranges $4,500-$7,500. High-end systems get crazy. Full ADAS calibration system like Autel IA1000 price hits $10,000-$14,000. The Launch X-939 price sits at $42,999 .
You also need a diagnostic tablet/scan tool for $4,000-$6,000. Wheel alignment machine adds more. OEM software subscription costs recur yearly. Shops spend around $55,000 upfront with $19,000 annual ongoing costs .
The Hidden Expenses
Here is the trap. Failed calibration costs include wasted time and materials. Then you face need for professional re-do paying double. Towing to dealer adds fees. Diagnostic fees to find errors pile up. Equipment limitations bite you. Incompatible tools and missing targets stop the job. Software update costs surprise you. Generic vs OEM-specific tools often fail.
Facility requirements cost money too. Level floor preparation runs $500-$2,000. Lighting improvements add $300-$1,000. You need space requirements of 25-35 feet clearance . Training costs hit $500-$1,500 per technician .
DIY vs professional cost comparison favors pros for one-time jobs. Break-even analysis shows payback period around 12 months for shops doing multiple vehicles daily . For most drivers, short-term savings vs long-term risk favors paying the pro. Insurance denial of claim, liability lawsuit cost, and warranty void cost dwarf any savings. Resale value reduction from bad repairs hurts later. Accident liability exposure is simply not worth it.
Conclusion: Making the Right Choice
So what is the final answer? After looking at both sides, making the right choice comes down to a few key points. Let’s wrap this up simply.
The Key Factors
Safety comes first. Your ADAS safety features protect you, your family, and others on the road. A small mistake creates big dangers. Professional calibration recommended exists for good reason. This is a safety-critical service that affects lives.
Cost matters too. Is professional calibration worth the money? Yes, when you consider the risks. Don’t risk DIY to save a few hundred dollars. The potential liability lawsuit cost from one crash destroys any savings. Protect your investment by doing it right.
Expertise seals the deal. Factory-trained specialists spend years learning this stuff. ASE certified technicians pass strict tests. They have proper equipment guarantee and follow industry standard compliance. You cannot match that with online videos.
When to Call the Pros
The answer is simple. When to call a professional is almost always. If your car needs calibration after a windshield replacement, trust the experts. If warning lights appear, certified technician required. If you want peace of mind guaranteed, skip the DIY.
The Safest Choice
Why choose professional ADAS calibration? Because dealer-level service ensures everything works right. OEM-approved service protects your warranty. Experienced professionals catch issues you might miss. Drive with confidence knowing your systems will work in an emergency.
Your Next Step
Still unsure? Consult certified ADAS specialists who do this daily. Riverbend Autoglass ADAS service offers exactly that. Their Riverbend certified technicians handle all makes and models. Trust Riverbend for auto glass and ADAS because they understand both systems together.
Contact Riverbend Autoglass today. Schedule appointment online or call for consultation. Get a free estimate for your vehicle. Ask yourself: Should I DIY or go professional for ADAS? Then make the safe call. Local ADAS specialist help is just a click away. Ensure system function and don’t compromise safety. Your life depends on it.